Now that I setup my hosting and installed WordPress I needed to start working on customizing the blog to my liking and the first thing I jumped into was to choose and install a Theme
Installing your first Theme
For this part I did not go at it alone, I drew my daughter closer and showed her what a theme does (effect the look and feel of your site) and asked her to choose from the many options that’s available to you.
I navigated over to the appearance -> theme option on the WordPress console
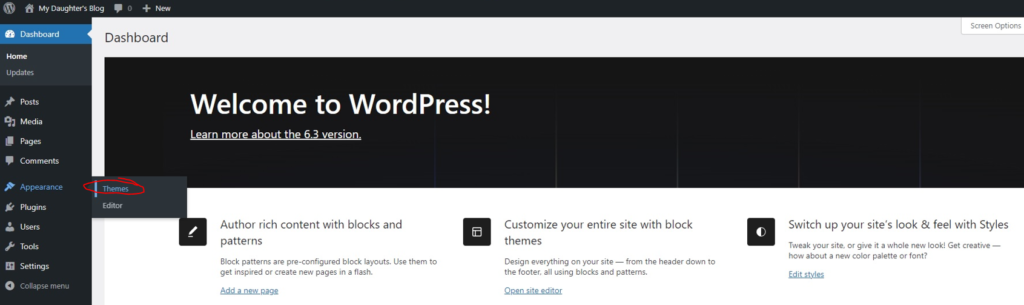
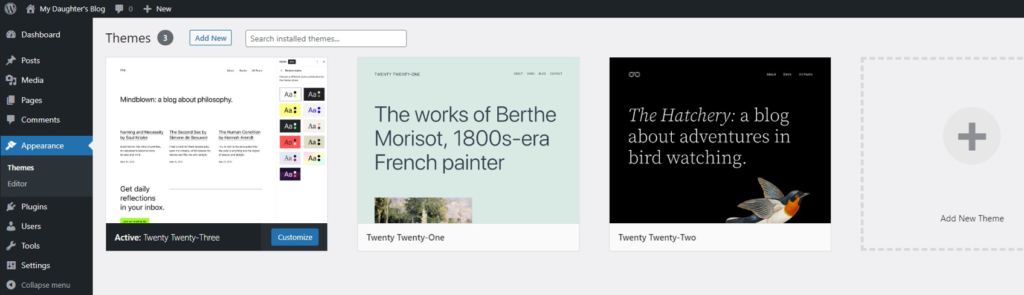
This takes me to the theme selection screen for all currently installed themes, which at this moment only had a few defaults that comes with the WordPress installation. Below we can see that the current active theme is one of these default themes called “Twenty Twenty-Three”
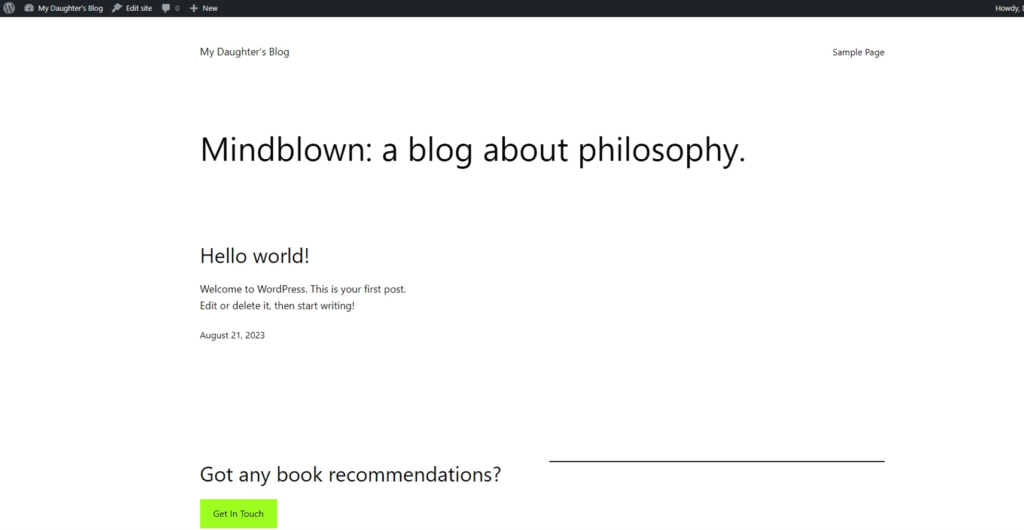
Visiting the site with this default theme looked very basic as can be seen below
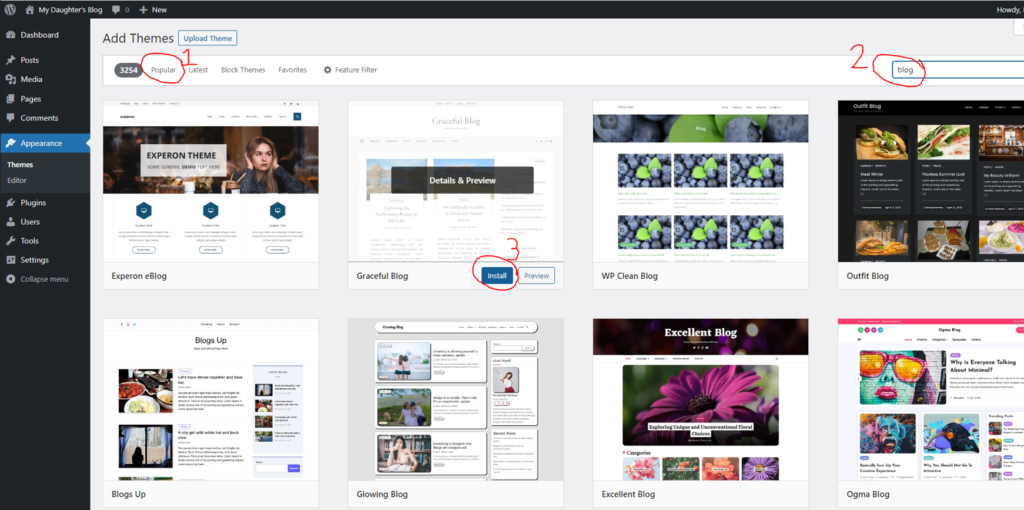
My daughter wanted a warmer feeling for her blog and had a look at some popular options by searching for the word “blog” in the search bar and decided on the Graceful Blog as seen below, so I clicked the install button
Once the theme installation completed we simply had to activate it with the new available “Activate” button

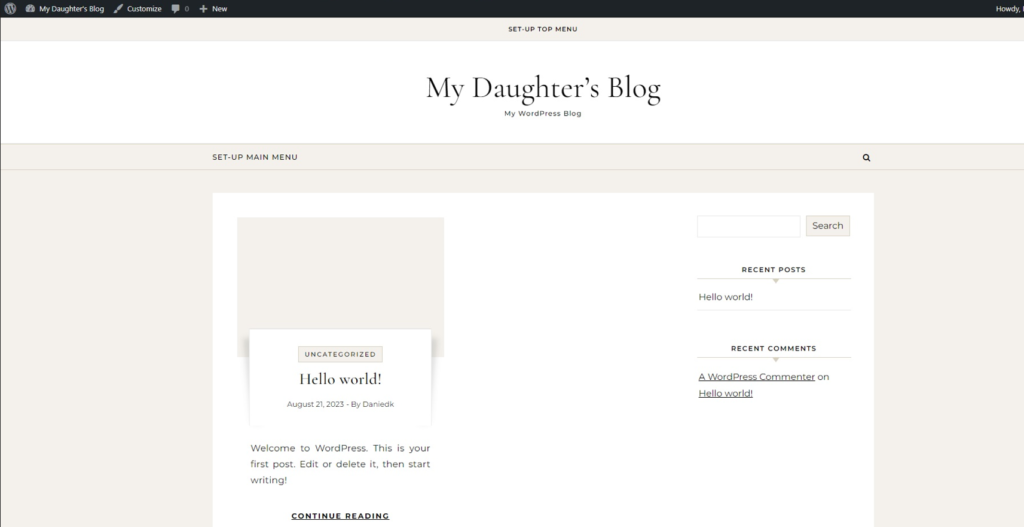
And Waalaa! When we now visit the site it’s got our custom selected theme ready for setup with a functional header, a footer and some blog posts which I’ll discuss in the next post.
I hope you have fun selecting your own theme for your website, there’s so many options it can literally take you a day just scrolling through all the variety of options out there.