I’ve provided a broad outline of the basics required in the previous post “Building my daughter a blog (part 2) – The Basics” Now I’m going to show you just how I did it.
The Basic Requirements
- domain name
- hosting provider
- WordPress installation
Domain Name & Hosting Provider
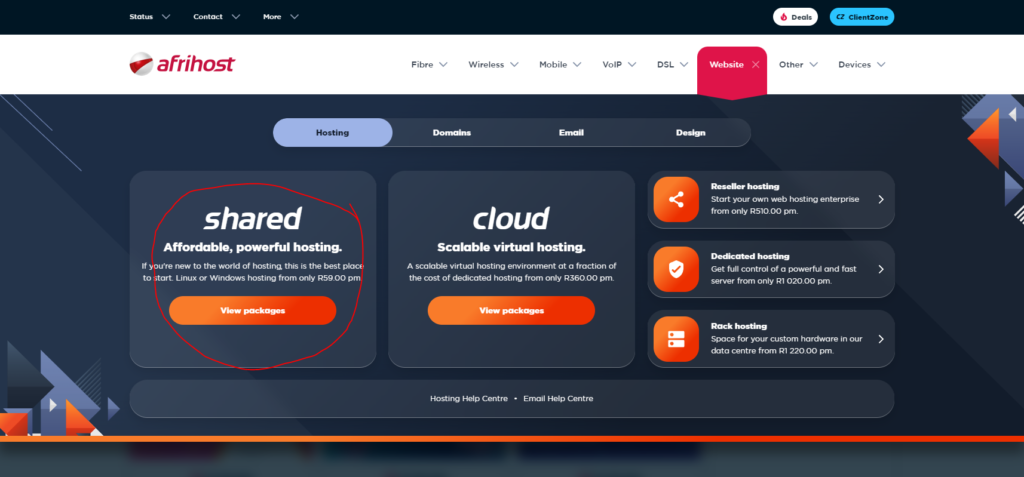
I opted for a local service provider that also provided the function to choose and register a domain name as a service. So the first thing I needed to do was choose a hosting option and register my account (afrihost.com). Since this is a basic blog page I chose the shared hosting option as per the below image.
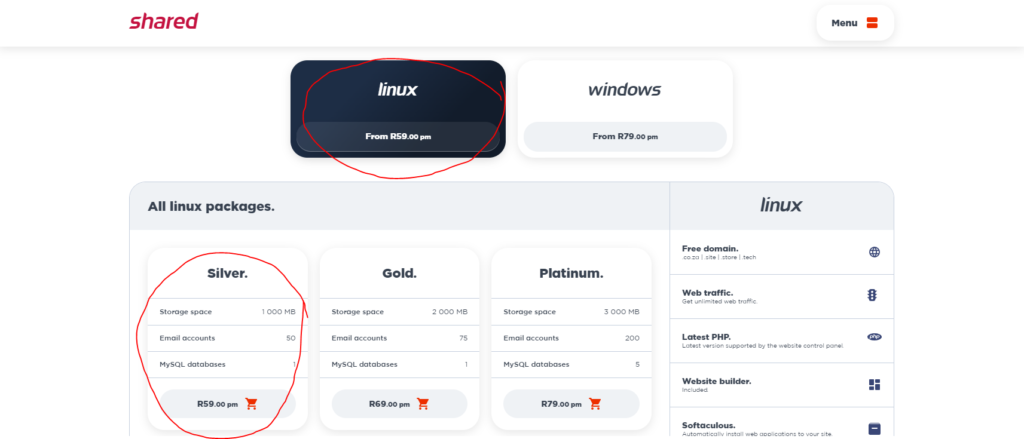
I decided to start with the silver linux package as I work daily with linux and it’s really straight forward and it was the cheaper option at the time
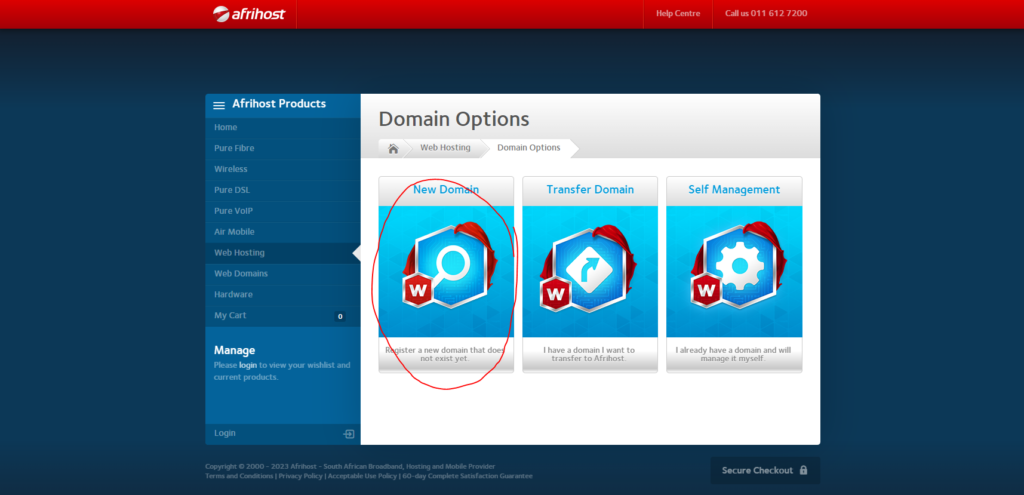
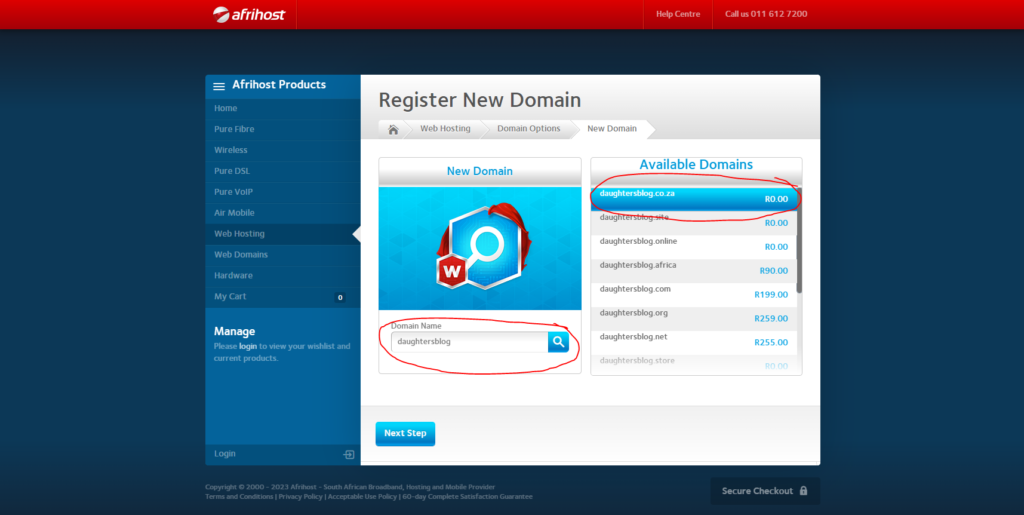
They then presented me with various domain options and since I wanted to create a new domain name for this blog I chose the “new domain” option
I could now see if the domain name I wanted to use was available, and since the .co.za option was included with the hosting price decided on this option
Finally I was presented with the option to either login to an existing account or create a new one with afrihost to finish the secure checkout
WordPress Installation
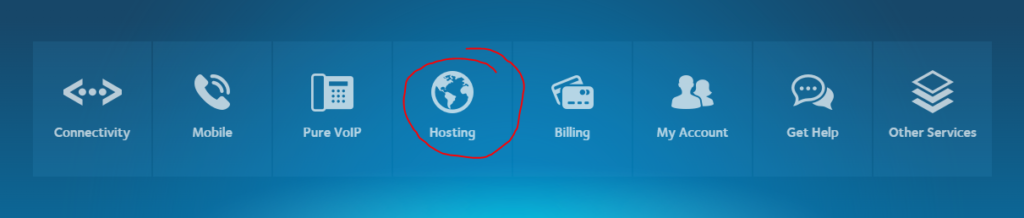
Now that I’ve paid for my hosting subscription and chose my domain name, I want to install WordPress to start creating the blog space. Once I logged into the afrihost clientzone I can now choose my hosting options
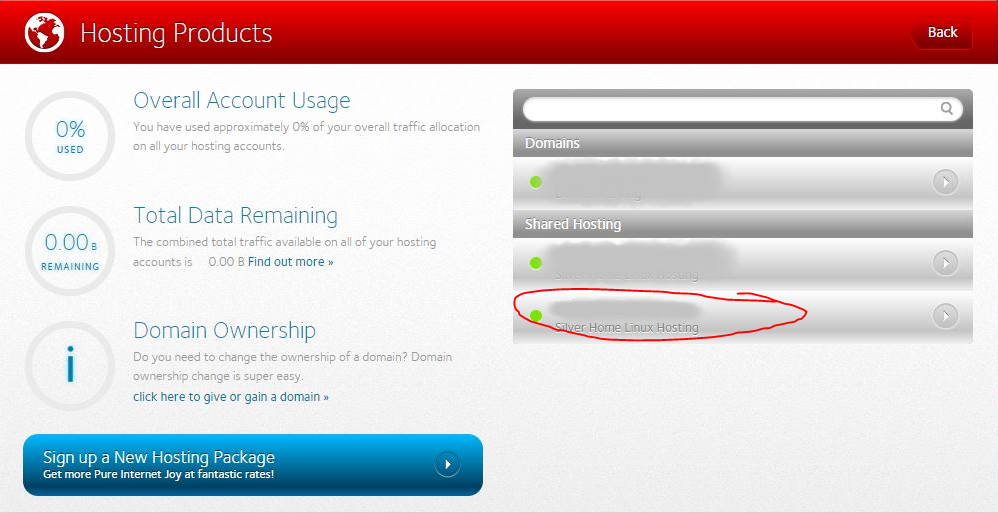
and select the domain name I’ve previously chosen for the silver hosting product
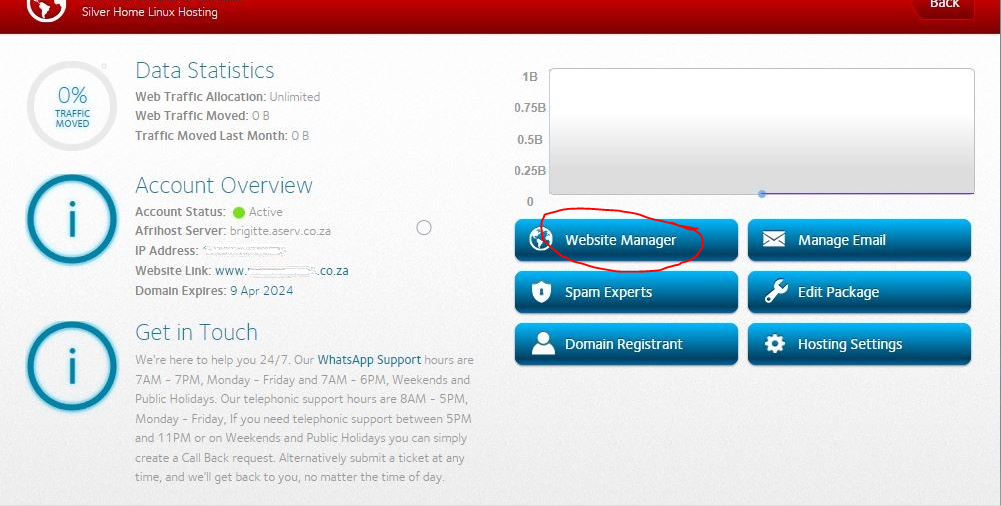
I now open the website manager to get access to the CPanel that afrihost offers to manage the website (note: if you wanted to use a domain name that was from another provider you could setup those settings in the hosting settings option on the screen below)
Once I logged into the CPanel I scrolled down the page to the software section and selected the softaculous installer
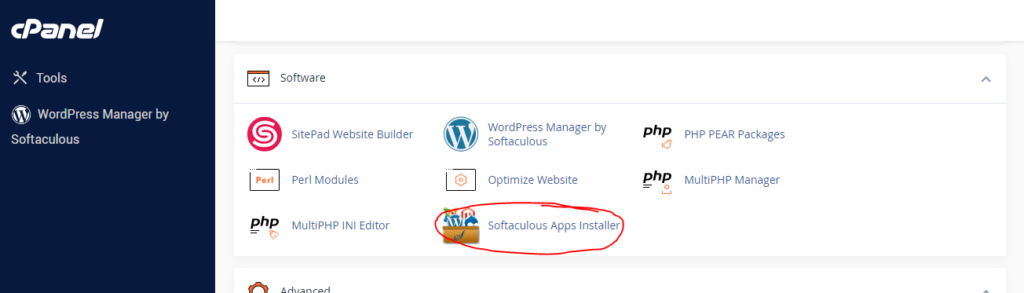
I then chose to install WordPress from the list of available options presented
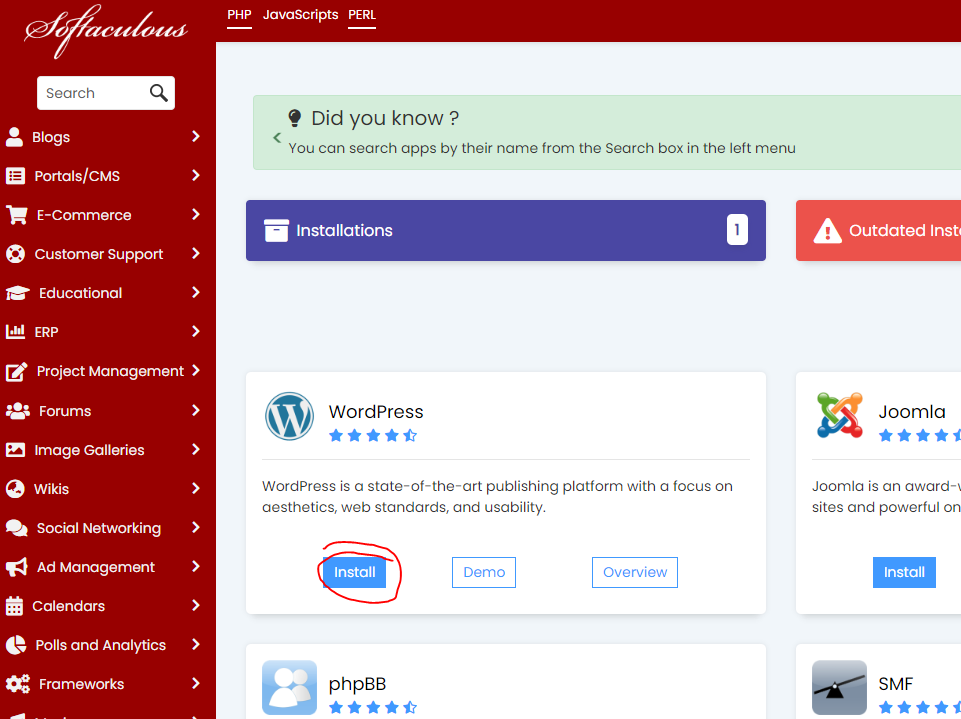
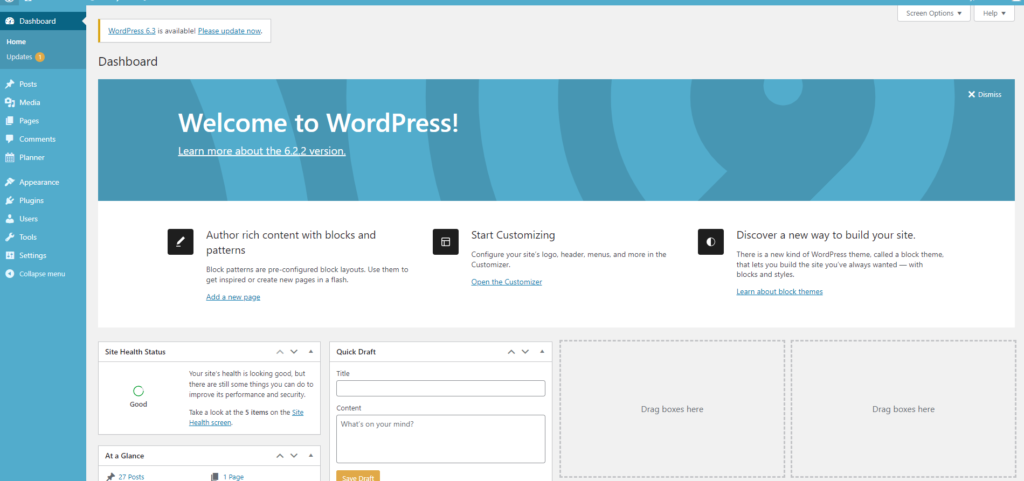
Once the installation completed I had access to the WordPress Manager where I can continue with setup of my website which I’ll cover in detail in future posts