Our Site is now looking more attractive with the new Theme we’ve installed and setup and my daughter is burning to get something out on the net. Let’s then jump into how to create new blog posts
Creating Blog Posts
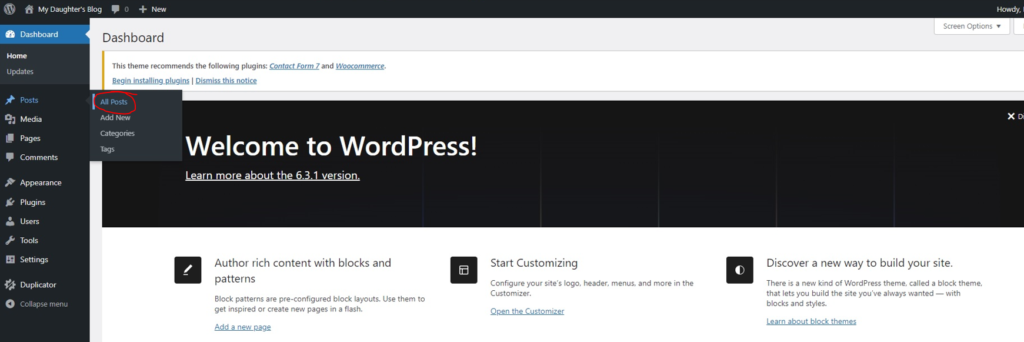
I navigated over to the “All Posts” section of the WordPress admin console
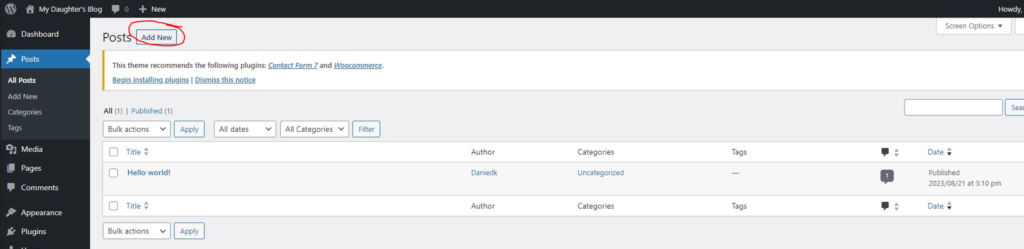
And clicked on the “Add New” button
This presented me with the default new post template where my daughter could create her first blog post
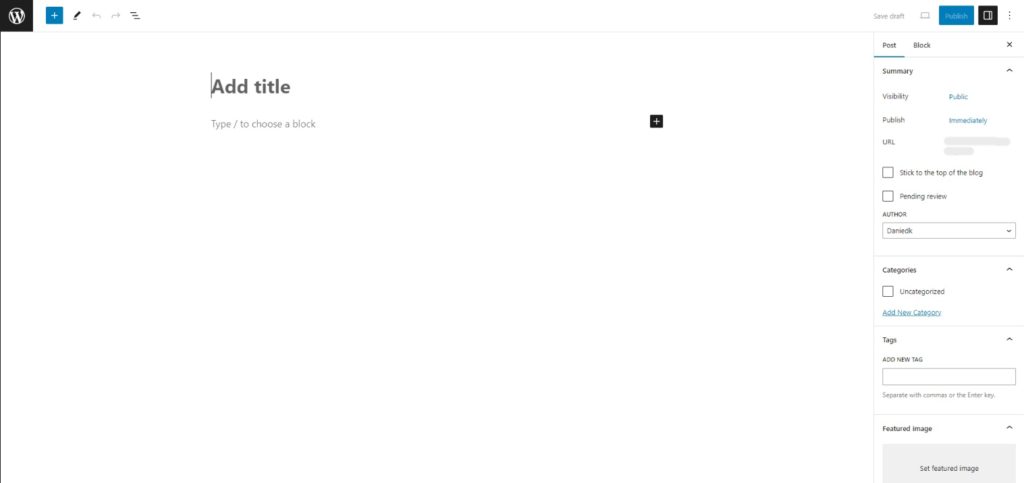
My daughter typed up a quick heading with a few words after which she clicked on the “Publish” button to get her post online

A few publishing options get displayed and these she left as default at this time and again clicked the “Publish” button

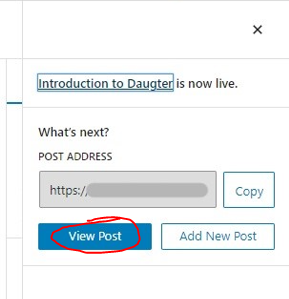
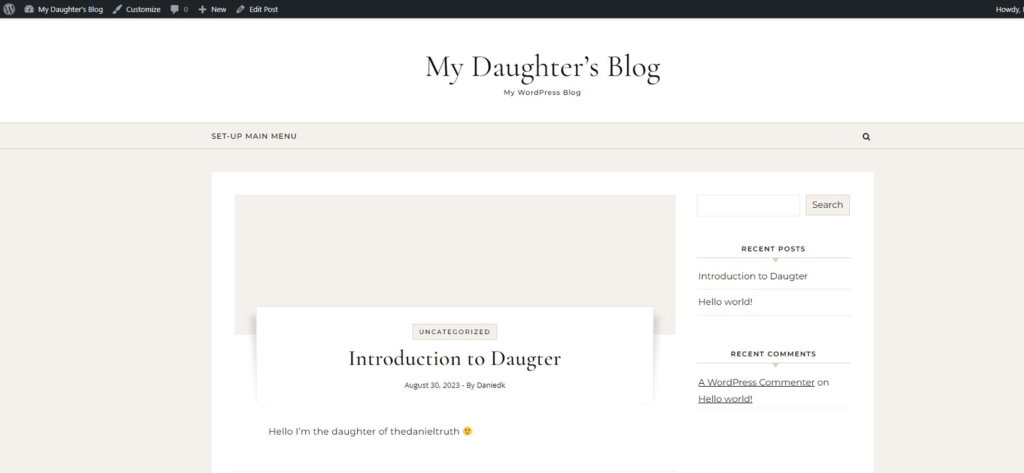
Finally her first post was live and she clicked on the “View Post” button to see what it would look like to the world
Her first live post in all it’s glory
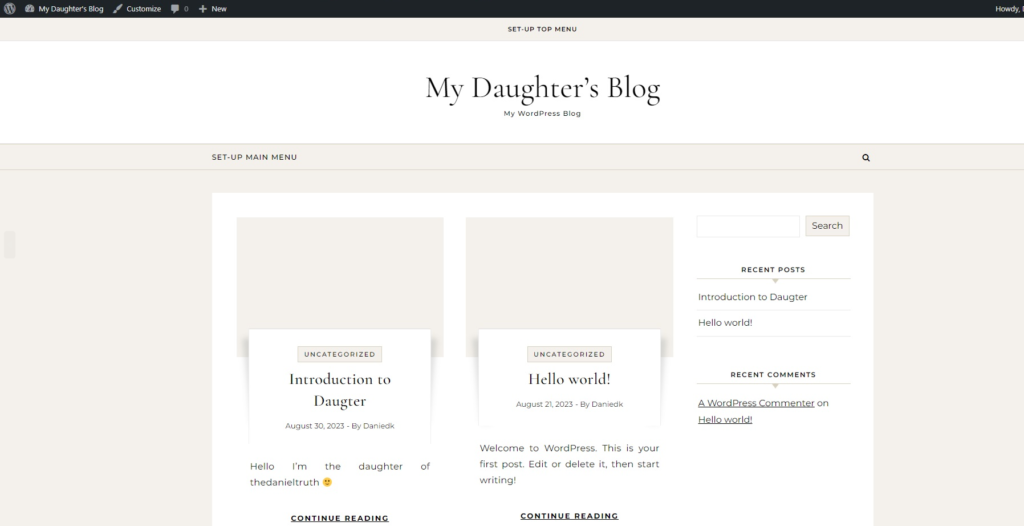
When she headed back to the home page though, we noticed there was a rogue post next to the one she just made and an arbitrary comment. I told her that I’d clean up the site for her.
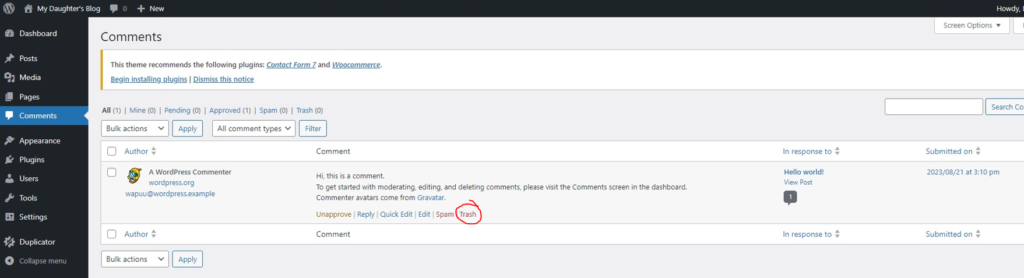
First I navigated over to the comments page on the WordPress admin console and clicked on the “trash” link for the sample comment
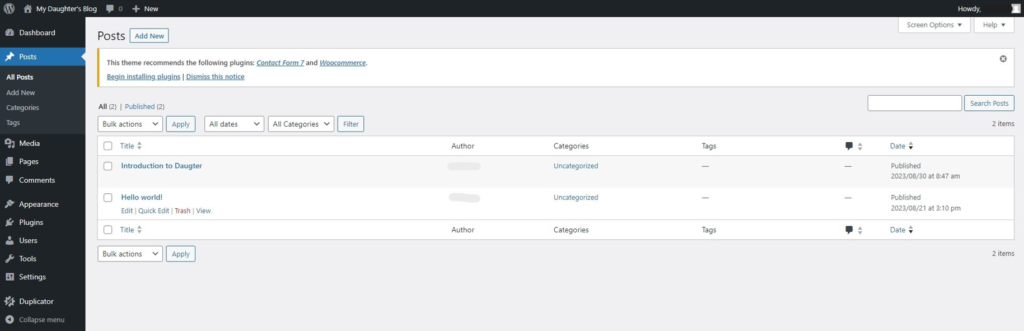
Then I removed the sample “Hello World” post by clcking on the “trash” link underneath it.
In the final post on my daughter’s blog we’ll add an about page and setup a top menu for easy navigation of the blog. Get on to your own posting now and spread your ideas all over the world wide web.